
The Ultimate Guide: Your 10-Step Jet Ski Winterization Checklist
Here in Ocean Pines, the first frost on the docks is a sure sign: winter is coming. For a jet ski owner, this is the single most important time of the year.
Failing to winterize your PWC in a coastal climate like ours is a gamble you will lose. Trapped water in the engine block or exhaust will freeze, expand, and crack your engine—a mistake that costs thousands to repair. At our shop, we see this heartbreaking (and totally preventable) damage every single spring.
Doing it right is a detailed process, but it's the only way to guarantee your ski fires right up when the weather turns warm.
We're sharing our shop's 10-step checklist for a professional, "bomb-proof" winterization.
A Quick Note: DIY vs. Pro
This is a comprehensive guide for the dedicated DIY-er. It's a full day's work and requires the right supplies (antifreeze, fogging oil, fuel stabilizer, etc.). If you read this list and feel overwhelmed, that's okay! Our shop's Winterization Service handles all of this (and more) professionally. It's the easiest way to guarantee peace of mind.
The 10-Step Pro Winterization Checklist
1. Stabilize Your Fuel System
Why: Today's ethanol-blended fuel can go "bad" in as little as 3-4 months, clogging injectors and gumming up your fuel system. How:
Go to the gas station and fill your tank to 80%+ full. A full tank prevents condensation (water) from forming.
Add a high-quality Marine-Grade Fuel Stabilizer (like STA-BIL 360 Marine) to the tank. Follow the dosage on the bottle.
Run the engine on the hose for 5 minutes for a Yamaha or Kawasaki, and only a max of 90 seconds for a Seadoo
2. Change the Engine Oil & Filter
Why: You must do this before storage, not in the spring. Used engine oil is full of acidic byproducts and contaminants that will sit and corrode your internal engine components all winter long. How: Run the engine to warm the oil, then use an oil extractor to remove all the old oil. Replace the oil filter and fill with new, high-quality marine-grade oil.
IF you have only put a few hours on your jetski and your oil is CLEAN, you may not need to do an oil change.
3. Flush the Cooling System with Antifreeze
Why: This is the #1 most important step to prevent a cracked engine block or exhaust manifold. How:
Get a 5-gallon bucket of non-toxic RV/Marine Antifreeze (the pink stuff) and add 1 Gallon to the bucket.
Set up a short hose from the bucket to your jet ski's flush port (you may need a small pump, or you can use a "gravity feed" system).
Start the engine, then immediately start the flow of antifreeze. Run the engine until you see the pink antifreeze spitting out of the jet pump. This means the entire system is full.
Pinch the antifreeze hose, then have a helper rev the engine a few times (in short bursts) to blow all the excess water and antifreeze out of the exhaust.
4. "Fog" the Engine Internals
Why: The air inside your engine is humid. Over winter, this humidity will rust your cylinder walls, pistons, and valves. Fogging oil prevents this. How:
With the engine running (right after you finish the antifreeze flush), spray "Fogging Oil" in short bursts directly into the air intake.
The engine will sputter and you'll see thick, white smoke come out the back. This is good!
Spray until the engine stalls. This means the entire intake and combustion chamber is coated in a protective layer of oil.
5. Disconnect and Remove the Battery
Why: A jet ski battery will self-discharge over the winter, and a frozen, dead battery is a useless battery. How: Disconnect the negative (black) terminal first, then the positive (red). Remove the battery from the ski. Store it inside (in a garage, not in your house) on a "smart" battery tender/maintainer all winter.
6. Clean and Dry the Hull (Interior)
Why: Any moisture trapped in the hull will become a mold and mildew nightmare by spring. How:
Remove the seats. Use a shop-vac to suck out every last drop of water from the bottom of the hull.
Wipe everything down with a clean, dry rag.
Prop storage compartments open to let them air out.
7. Wash and Wax the Exterior (Exterior)
Why: Saltwater, algae, and grime will stain and corrode your gelcoat and plastics if left to sit all winter. How: Give the ski a thorough wash with a good boat soap. Dry it completely. Applying a coat of marine-grade wax is a pro-level step that protects the finish from moisture and UV rays.
8. Lubricate All Moving Parts
Why: To prevent rust and seizing from the salty, humid air. How: Spray a high-quality marine-grade silicone or anti-corrosion spray (like CRC 6-56) on all visible metal components: steering cables, reverse gate pivots, throttle linkages, etc.
Step 9: Pest-Proof Your Ski
Why: Mice and squirrels love to make nests in warm, dark places and will chew through your expensive wiring and upholstery.
How: Block your exhaust port with a rag or steel wool (but add a bright red "REMOVE BEFORE START" tag!). Place mothballs or peppermint-oil-soaked cotton balls inside the hull and storage bins to deter them.
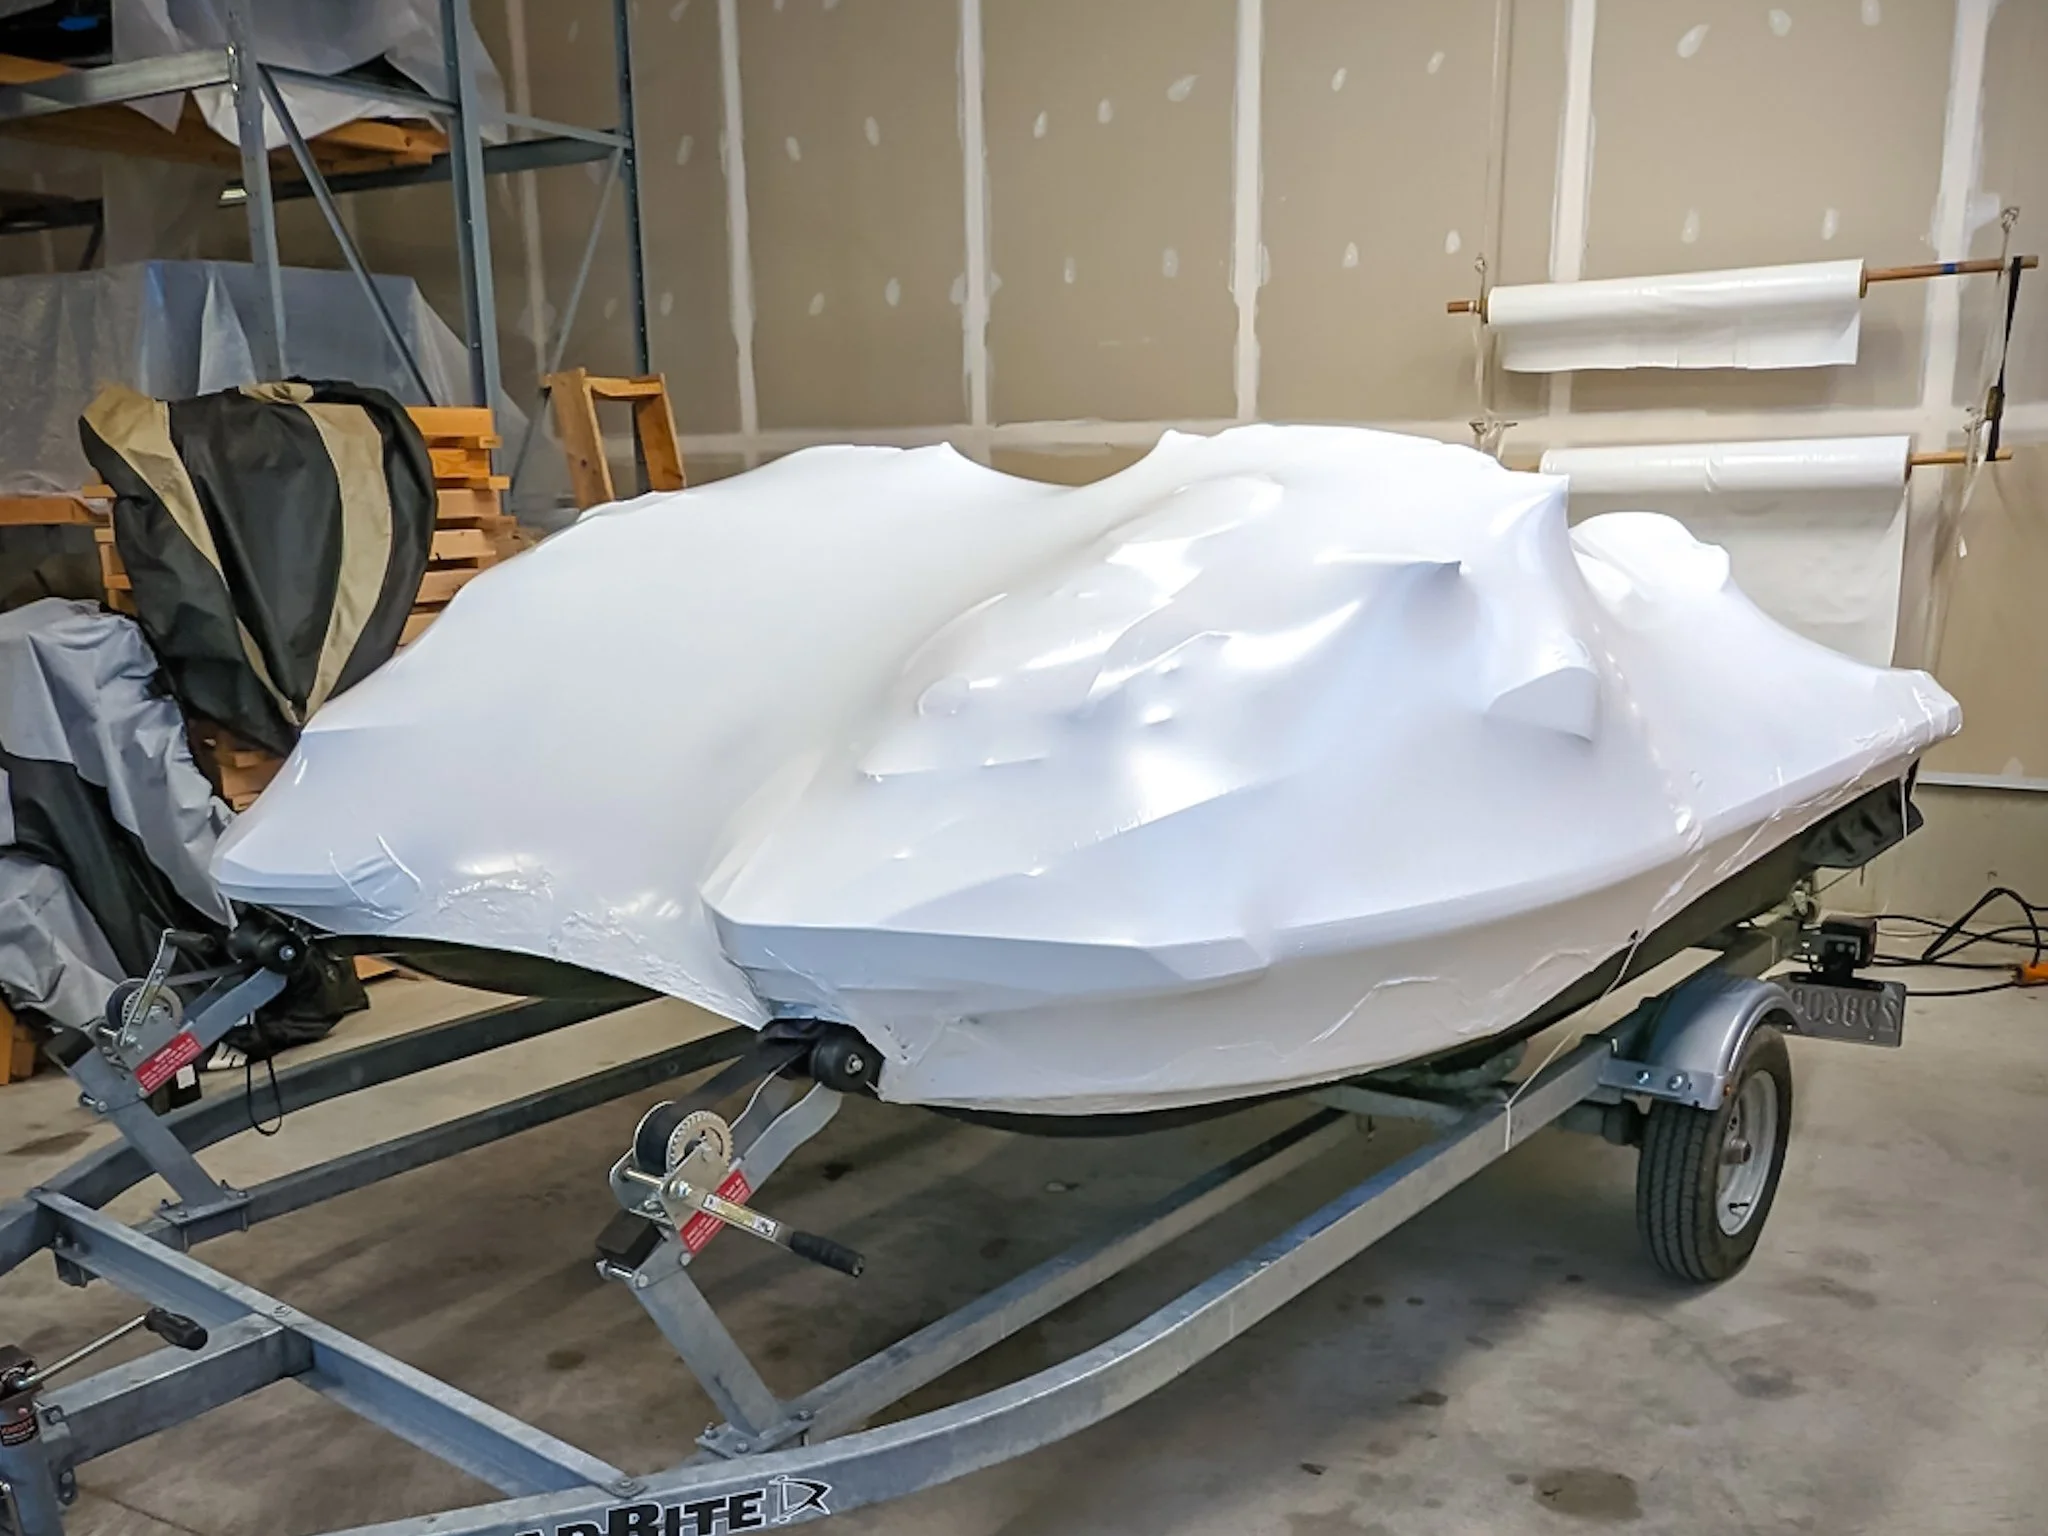
Step 10: Cover It Correctly
Why: To protect it from the elements.
How: Use a high-quality, breathable PWC cover. If storing outside, professional shrink wrapping is by far the best option, as it's drum-tight (no pooling) and can be ventilated to prevent mold. (Read our blog on why shrink wrap beats a tarp)
Feeling Overwhelmed? We Can Help.
This 10-step process is a lot of work, but every step is critical. If you miss just one, you risk a four-figure repair bill in the spring.
If you'd rather have the peace of mind that it's done right by a pro, our shop is here to help. Our team can handle this entire checklist for you.
This is one of the most common issues we see, and it's a key part of The Ultimate Guide to Sea-Doo Maintenance & Repair on our blog.
Call us at (410) 973-2890 or click below to book your winterization service today.